Workspaces: How they work and why they matter
This guide explains how workspaces organize your build and how pricing units are linked to them. The key concept to make ultra clear: units and resources are attached to a workspace, not to the overall account. This separation of concerns delivers transparent billing, cleaner operations, and safer access control.
What is a workspace?
A workspace is an isolated container for: Users can have access to one or more workspace. Access to a workspace and to its underlying concepts can be managed through “User management“. A workspace can have:
- One or as many as you want applications you build and run
- Any amount of users
- One or more developers
- Single sign on settings
- Any amount of cores
- A private marketplace
Think of a workspace as a boundary around a project, customer, environment, or regulated domain. Everything inside a workspace is managed, billed, and operated together.
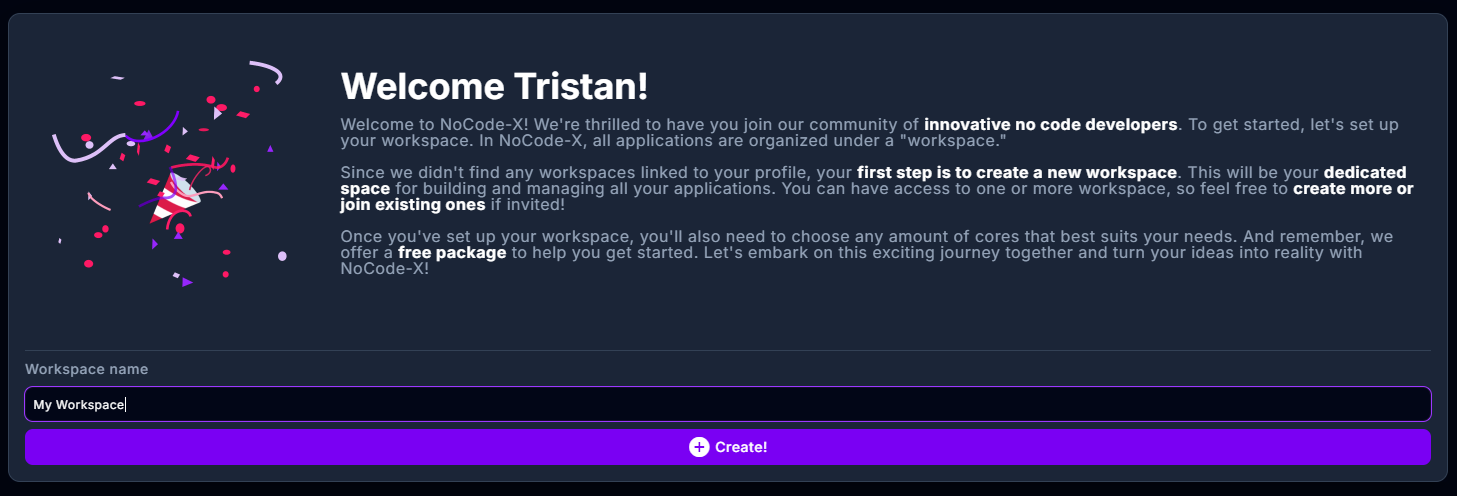
Creating your first workspace
After creating your NoCode-X account, you can now register a company. Just pick a name for your workspace and you're good to go.
Creating additional workspaces
If you require more than one workspace within NoCode-X, follow this procedure to create a new workspace:
- Click the workspace picker
- Click the Add workspace button.
- Choose a name for your workspace. Press Save when done.
- You will then be asked to create this workspace’s first application.

Edit workspace details
To view and edit information about your company, click the Workspace button in the menu on the left.
General workspace information
You can edit some general information on your workspace.
| Attribute name | Description |
|---|---|
| Workspace name | View and edit the workspace’s name. |
One workspace vs. multiple workspaces
Use a single workspace if:
- You’re building for yourself or one internal team.
- You want the simplest setup with minimal overhead.
- You don’t need separate billing or strict isolation between apps.
Use multiple workspaces if:
- You serve multiple customers who require clear cost separation.
- You need different access controls, regions, or compliance settings.
- You want clean environments for development, staging, and production.
- You operate shared components centrally but deploy per customer or project.
Tip: Start simple. If you don’t have a clear need for multiple workspaces, begin with one. Add more only when organizational, billing, or compliance needs arise.
Expanded examples
1) Solo developer: one workspace, one or more apps
- Who: A single developer building for personal or internal use.
- Setup:
- 1 workspace (e.g., “Personal”)
- 1–N applications inside it
- Units attached to this single workspace
- Why this works: Lowest complexity. All usage and cost are in one place.
- Example flow:
- Add 50 units to the “Personal” workspace.
- Build App A and App B; both draw from the same 50 units.
- One monthly invoice tied to the “Personal” workspace.
2) One company, multiple apps: one workspace, multiple apps
- Who: A company with various internal apps for different departments.
- Setup:
- 1 workspace (e.g., “Acme Corp”)
- Finance App, Ops App, and HR App inside the same workspace
- Units pooled at the workspace level
- Why this works: Shared team, shared budget, simple governance.
- Example flow:
- Allocate 300 units to “Acme Corp.”
- All three apps consume from the 300-unit pool.
- Single invoice and consolidated reporting for the company.
- When to split later:
- If HR needs strict access control and separate billing, create “Acme HR” as a new workspace and redeploy or move the HR app there with its own units.
3) Agency model: central DevOps + per-customer workspaces
- Who: An agency delivering apps to many clients while maintaining shared building blocks.
- Setup:
- 1 “DevOps” workspace for shared libraries, templates, and CI/CD automation.
- A separate workspace for each client (e.g., “Client A,” “Client B”).
- Publish shared components from DevOps to a marketplace, then deploy into each client’s workspace.
- Why this works: Maximum scalability and clarity. Each client’s usage, support, and billing are isolated.
- Example flow:
- DevOps workspace: reusable components only; no client data.
- Client A workspace:
- Allocate 120 units.
- Deploy “Customer Portal” v1.2 from the marketplace.
- Client A’s usage and invoice are tracked only here.
- Client B workspace:
- Start with 60 units; scale to 200 during peak season.
- Independent invoice and support routines.
- Support and scale:
- If Client B reports an issue, troubleshoot only in “Client B.”
- Upgrades roll out per client, on their schedule, using shared DevOps artifacts.
4) Environment separation: Dev, Staging, Prod as distinct workspaces
- Who: Teams needing promotion paths and change control.
- Setup:
- “MyApp – Dev,” “MyApp – Staging,” and “MyApp – Prod” as separate workspaces.
- Units allocated based on expected load (e.g., fewer in Dev, more in Prod).
- Why this works: Clean isolation of data, permissions, and risk between environments.
- Example flow:
- Deploy new version to Dev.
- Promote to Staging for UAT and performance checks.
- Roll out to Prod on a change window with its own units and SLAs.
5) Compliance/region-specific workloads
- Who: Organizations with regulated data or regional requirements.
- Setup:
- Separate workspaces for EU-only data, US-only data, etc.
- Distinct users and roles per workspace to enforce least privilege.
- Why this works: Prevents data commingling and simplifies audits and reporting.
- Example flow:
- “EU – Payments” workspace with 200 units, EU user group only.
- “US – Analytics” workspace with 150 units, US user group only.
- Independent reporting and audits per region.
Practical guidelines and best practices
- Keep it simple:
- If you don’t need multiple workspaces, stick to one.
- Name clearly:
- Use consistent names like “Company – Prod,” “Company – Sandbox,” or “ClientName – Prod.”
- Budget by workspace:
- Allocate units per workspace based on expected load; adjust as needed.
- Isolate for compliance:
- Create dedicated workspaces for regulated data or region-specific requirements.
- Control access:
- Invite only necessary users to each workspace; use least-privilege roles.
- Lifecycle management:
- For larger teams, separate Dev/Staging/Prod workspaces enable safer releases.
- Share via a central workspace:
- Maintain reusable blocks in a central DevOps workspace and deploy them into customer/project workspaces.
FAQs
- Can I have many apps and users in a single workspace?
- Yes. You can build many applications and have as many users as you need in one workspace.
- Where do I add units?
- Units are added to the workspace. They are not pooled at the account level.
- How does billing work?
- Billing follows the units and usage associated with each workspace, enabling clear per-project or per-customer invoicing.
- Can I move or redeploy an app between workspaces?
- Yes, via shared components/templates and your deployment flow. This preserves isolation and lets you tailor units per target workspace.
Key takeaways
- Units and resources are linked to workspaces, not to the account.
- Use one workspace for simplicity; use multiple for clean separation, billing clarity, and operational control.
- Agencies and multi-project orgs benefit from a central DevOps workspace plus per-customer workspaces.
- This model improves transparency, scalability, security, and supportability.